While rummaging through my basement, I discovered a half-finished CO2 Meter from the COVID-19 era. Back in the COVID-19 days, it was utterly important to ventilate the rooms when the air got bad (and avoid unnecessary ventilation in winter when it was freezing cold outside).
I remember leaving the project in a functional state that delivered plausible values. However, given that I didn’t have much exposure to C languages I was not sure how reliable the measurements were. The original setup was a bit “basic”. The necessity to air the room was indicated by a servo motor driven analog pointer.
I took this as an opportunity to upgrade the setup:
Get to know C++ and
Use a “real” digital display
And I learned even more along the way as we will see…
Hardware
I took inventory of the existing setup. I already had:
- NodeMCU Lua Lolin V3 Module ESP8266 ESP-12F
- BMP280
- SCD30
All nicely attached to two joined tiny breadboards.
I just needed a display. I chose a:
- SSD1306 OLED screen
As a power supply I use the spare power adapter from my decommissioned Iomega Zip Drive1. Any other 5V DC power supply should work just as well.
1 The older folks might remember Iomega (2024)
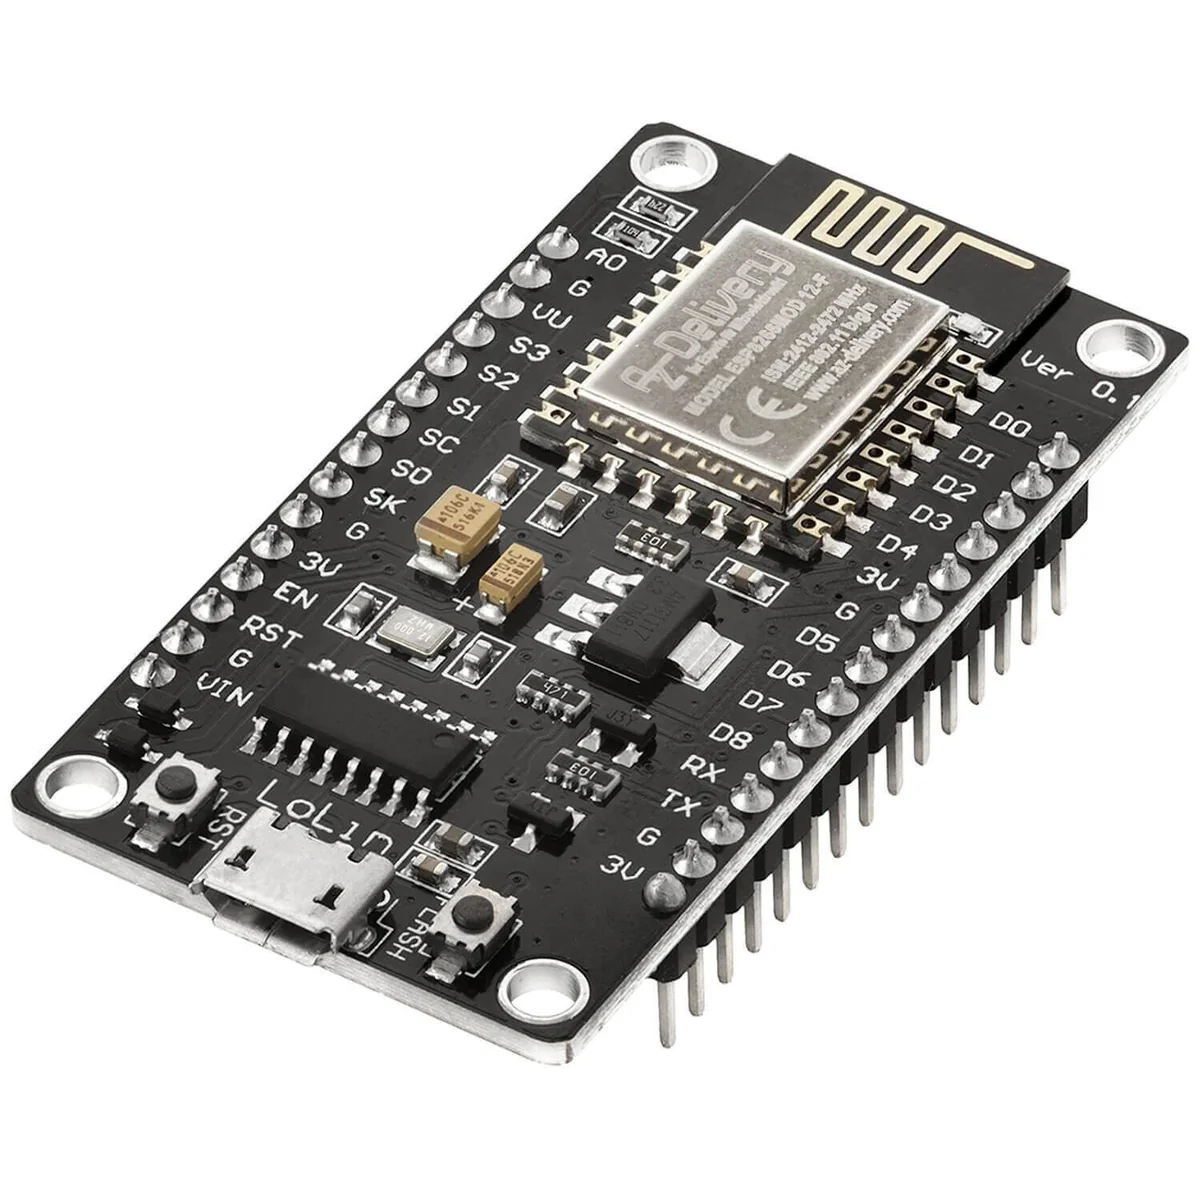
NodeMCU Lua Lolin V3 Module ESP8266 ESP-12F
The NodeMCU Lua Lolin V3 (see Figure 1) is a versatile and beginner-friendly development board that combines the power of the ESP8266 ESP-12F module with additional hardware to simplify prototyping and development. It is widely used in IoT projects due to its affordability, ease of use, and flexibility2.
2 For more details see AZ-Delivery NodeMCU Lolin V3 Documentation (n.d.).
Therefore, I used it in my project.
I assume other boards based on ESP8266 or ESP32 would work as well. Nevertheless, I encourage to use a development board if you want to streamline the build up of this project.
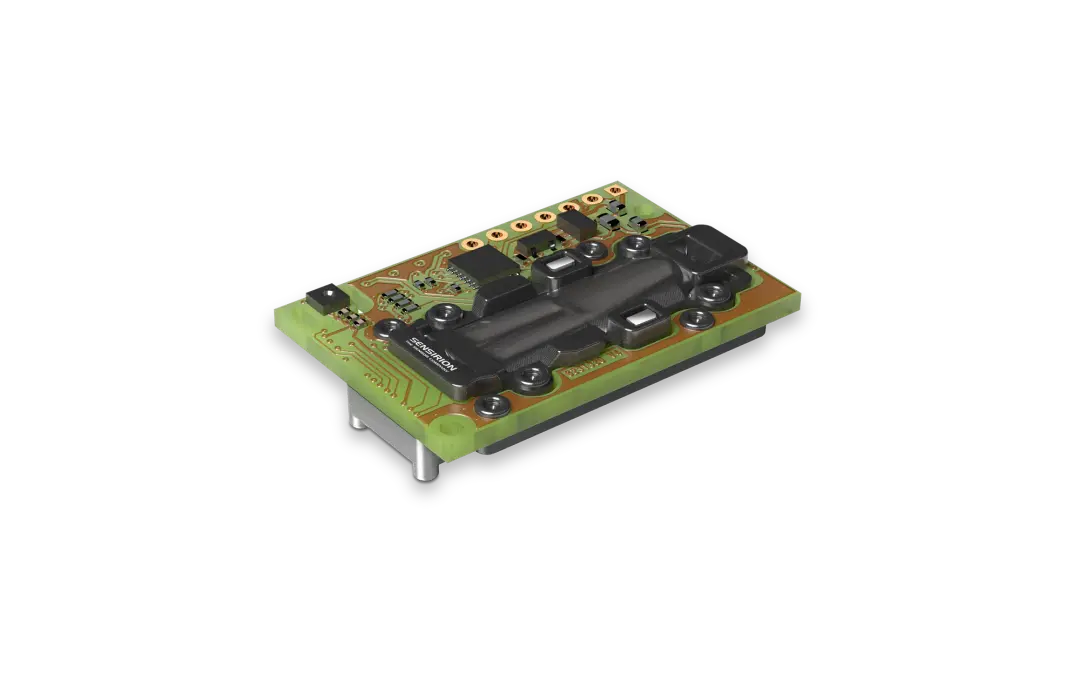
SDC30 Sensor
The SCD30 is a high-accuracy sensor module developed by Sensirion for measuring CO₂ concentration, temperature, and humidity. It is widely used in air quality monitoring, HVAC systems, and IoT applications due to its precision and ease of integration.
The SCD30 uses a Non-Dispersive Infrared (NDIR) sensor to measure CO₂ concentration. It also includes temperature and humidity sensors to provide environmental data and compensate for temperature and humidity effects on CO₂ measurements.
The I²C wiring is shown in Table 1.
| SCD30 Pin | ESP8266 Pin |
|---|---|
| VCC | 3.3V |
| GND | GND |
| SCL | D1 (GPIO5) |
| SDA | D2 (GPIO4) |
Key Features
- CO₂ Measurement:
- Measures carbon dioxide concentration with high accuracy.
- Measurement range: 400 ppm to 10,000 ppm.
- Accuracy: ±30 ppm + 3% of the measured value.
- Temperature Measurement:
- Measures ambient temperature for environmental monitoring.
- Temperature range: -40°C to +70°C.
- Accuracy: ±0.8°C.
- Humidity Measurement:
- Measures relative humidity for air quality applications.
- Humidity range: 0% to 100% RH.
- Accuracy: ±3% RH.
- Interfaces:
- Supports I²C and Modbus communication protocols for easy integration with microcontrollers.
- Compact Design:
- Small form factor (35 mm x 23 mm x 7 mm), making it suitable for compact devices.
BMP280 Sensor
The BMP280 is a high-precision, low-power barometric pressure and temperature sensor developed by Bosch Sensortec. It is widely used in IoT, weather monitoring, and altitude measurement applications due to its small size, accuracy, and ease of integration.
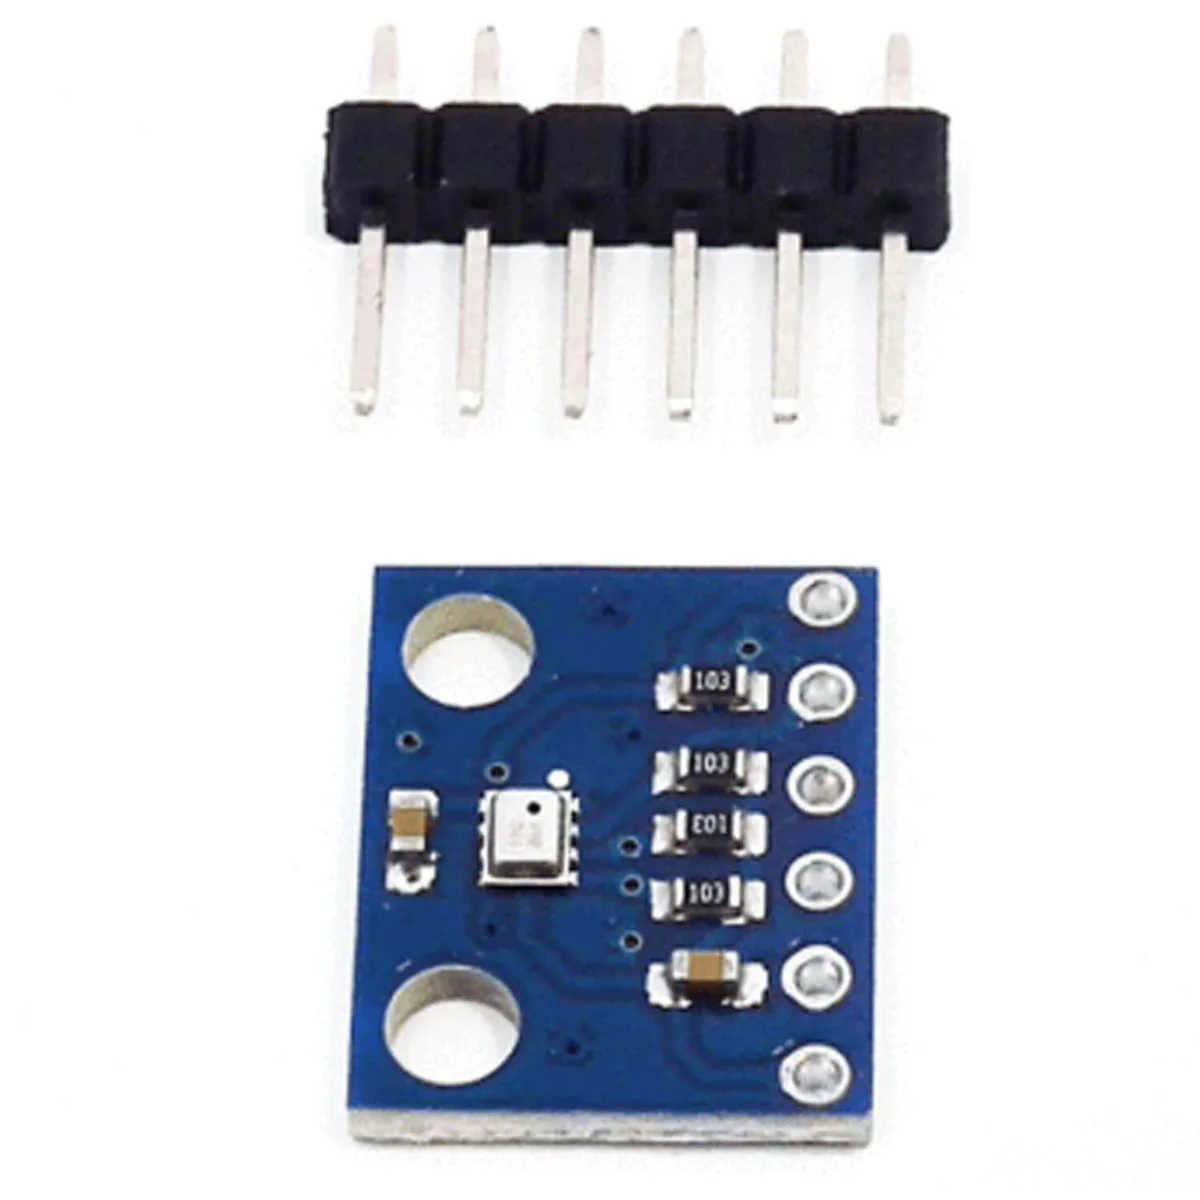
The BMP280 uses a piezo-resistive sensor to measure pressure and a temperature sensor to compensate for temperature-related variations in pressure readings. It outputs raw data, which can be processed using libraries or formulas to calculate pressure, altitude, and temperature.
In this project the BMP280 is used to support the altitude compensation as explained in (Interface Description Sensirion SCD30 Sensor Module, n.d., p. 16).
The I²C wiring is shown in Table 2.
| BMP280 Pin | ESP8266 Pin |
|---|---|
| VCC | 3.3V |
| GND | GND |
| SCL | D1 (GPIO5) |
| SDA | D2 (GPIO4) |
Key Features
- Pressure Measurement:
- Measures barometric pressure with high accuracy.
- Pressure range: 300 hPa to 1100 hPa (suitable for altitudes from -500 m to +9000 m).
- Temperature Measurement:
- Measures ambient temperature as a secondary feature.
- Temperature range: -40°C to +85°C.
- Low Power Consumption:
- Ideal for battery-powered devices.
- Power consumption: 2.7 µA in normal mode.
- Interfaces:
- Supports both I²C and SPI communication protocols, making it versatile for different microcontroller setups.
- Compact Size:
- Small form factor (2.0 mm x 2.5 mm x 0.95 mm), making it suitable for compact devices.
OLED SSD1306 display
The OLED SSD1306 is a popular display module widely used in embedded systems and IoT projects. It features a compact design and high contrast, making it ideal for displaying text, graphics, and sensor data in small devices.
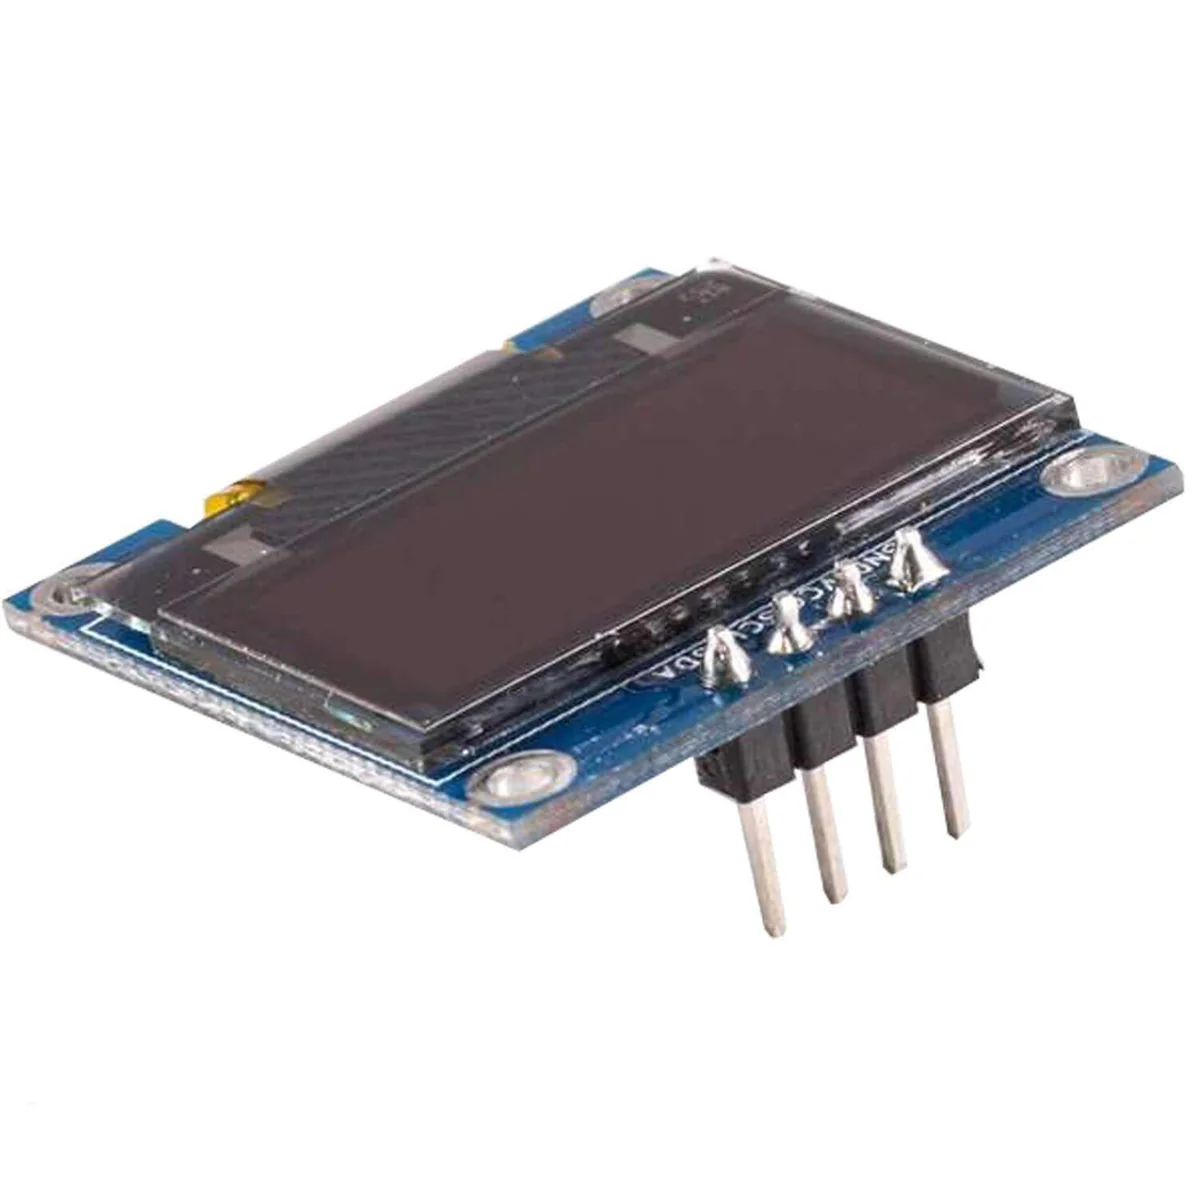
The SSD1306 controller drives the OLED display. It communicates with the microcontroller via I²C or SPI, allowing the microcontroller to send commands and data to render text or graphics on the screen.
Key Features
- Display Type:
- Monochrome OLED display with a resolution of 128x64 pixels.
- High contrast and wide viewing angles.
- Low Power Consumption:
- Consumes very little power, making it suitable for battery-powered devices.
- Interfaces:
- Supports both I²C and SPI communication protocols, allowing easy integration with microcontrollers.
- Compact Design:
- Small size (typically 0.96 inches), making it ideal for compact projects.
The I²C wiring is shown in Table 3.
| SSD1306 Pin | ESP8266 Pin |
|---|---|
| VCC | 3.3V |
| GND | GND |
| SCL | D1 (GPIO5) |
| SDA | D2 (GPIO4) |
Assembly
The wiring of the bread board prototype is shown in Figure 5.

The color code of the wiring:
red - 5V
black - Gnd
orange - 3.3V
yellow - SDA
green - SCL
Software
For my initial microcontroller projects I used to use Ardunio IDE3. However, since I wanted to expose myself more to C++ I looked for a more bare bone C++ tooling.
3 see Arduino IDE | Arduino Documentation (n.d.)
The complete source code, including all classes and configuration files, is available in the GitHub repository:
Tooling
After some research I found PlatformIO4 and the corresponding plugin for Visual Studio Code5.
4 see PlatformIO (n.d.)
5 see Visual Studio Code - Code Editing. Redefined (n.d.)
6 see Make - GNU Project - Free Software Foundation (n.d.)
I selected Make6 as a build and deployment tool for its simplicity and direct control over the build process. In addition, I use it for additional housekeeping tasks such as resolving I²C device addresses.
Design
A high level Class diagram is depicted in Figure 7. The white boxes show the classes (here: the corresponding header files) developed and the gray boxes show libraries used.

The developed classes are:
main serves as an entry point
SensorManager encapsulates communication from and to the sensors
DisplayManager encapsulates communication from and to the display
Logger provides as logging facility to
Conclusion
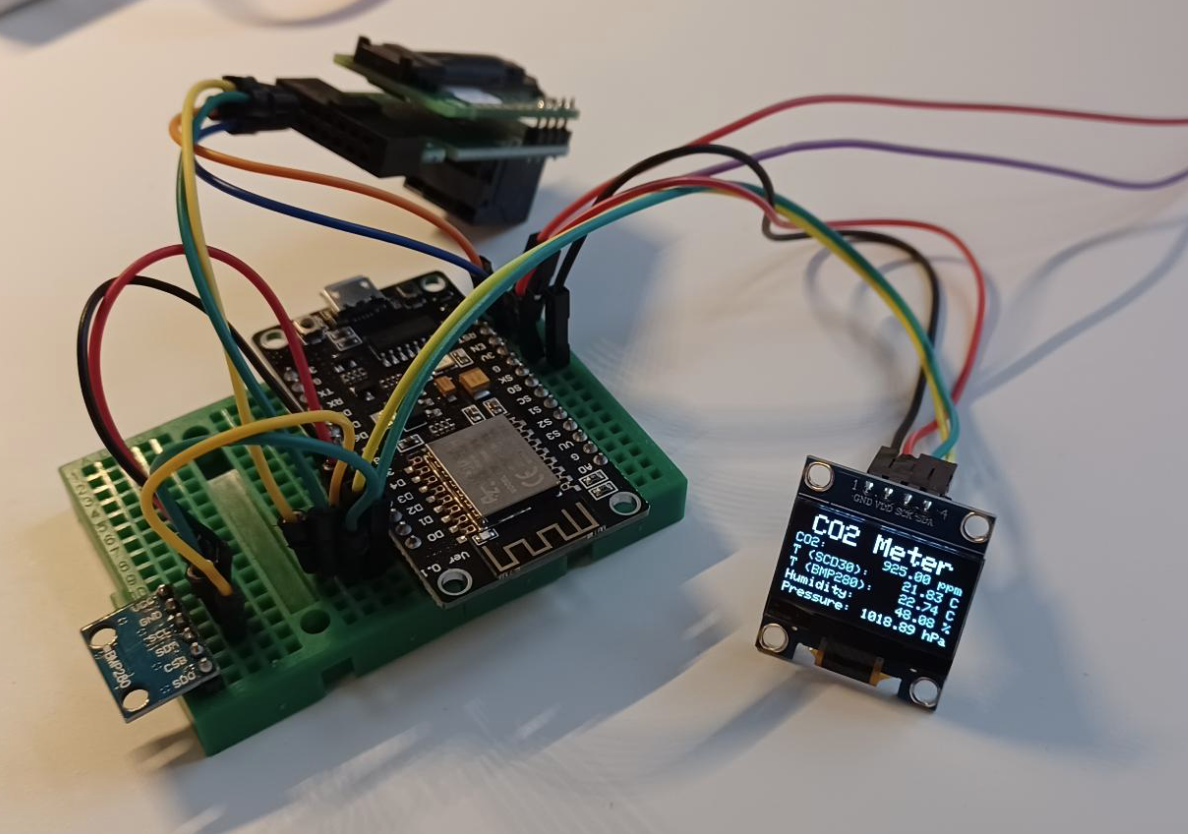
A working prototype is shown in Figure 8 below. You will notice the SDC30 looks quite different compared to the schematic representation in Figure 5. This is a variant of the sensor (SEK-SCD30) with an additional PCB for a RJ47-socket to plug in an SEK-Sensor Bridge from the manufacturer Sensirion. I retained this variant because it allowed easy access to the pins required for I²C wiring through the existing female connection points.
Features
The completed project combines hardware and software components to create a functional CO₂ meter with these key features:
CO2 Monitoring: Measures CO2 levels using the SCD30 sensor.
Environmental Data: Reads temperature, humidity, and pressure from the SCD30 and BMP280 sensors.
OLED Display: Displays sensor readings and warnings on an SSD1306 OLED screen.
Logging: Logs sensor data and system messages using the Logger class.
Calibration: Automatically calibrates the SCD30 sensor and stores the calibration flag in EEPROM.
I²C Scanner: Scans the I2C bus for connected devices.
Next Steps
I already started to look into document Doxygen7. However, I didn’t manage to get its working together with GitHub pages8 so far. I plan to explore CMake as I read it might be the wiser choice looking forward9. In addition, unit-testing and run-time debugging sound interesting as well. Hardware-wise the next step could be a PCB version of the prototype outlined here. In addition, I would like to explore the Low Power Mode for SCD30 mentioned in (Low Power Mode for SCD30, n.d.).
7 see Doxygen Homepage (n.d.)
8 see GitHub Pages Documentation (n.d.)
9 While Make gives you raw control, CMake provides higher-level abstractions and dependency management. In short, if you’re after modern flexibility and scalability, CMake might be your forward-thinking ally; if you love the simplicity and directness of the old-school approach, Make still holds its charm. See CMake - Upgrade Your Software Build System (n.d.)
Once refined, this CO₂ meter could be deployed in classrooms, offices, or homes to help maintain healthy indoor air quality and optimize ventilation.
Please drop me a note for any helpful hints.